
A roof drawing may show a simple L-shaped flashing at a sidewall. The dimensions that matter to the installer are often on a different detail: how far the metal extends onto the roof, how high it rises behind the wall finish, and how long each individual piece should be. When those dimensions change from one elevation to the next, a standard box of flashing may cover only part of the job.
Hamoon Construction fabricates metal step flashing in Toronto for contractors, roofers, siding installers and property owners across the GTA. We make individual pieces to your specified dimensions and can prepare custom profiles for corners, returns and transitions. Send us a drawing, a dimensioned sketch or a physical sample, and identify the material and finish you need. We can then review the geometry with you before fabrication.
If your crew calls the part an “L bar,” that is a perfectly good place to start. The important question is what the piece does on the building. A short roof flashing, a continuous length of bent sheet and a structural angle can look similar in profile. They are different orders at the shop.
What Is Metal Step Flashing?
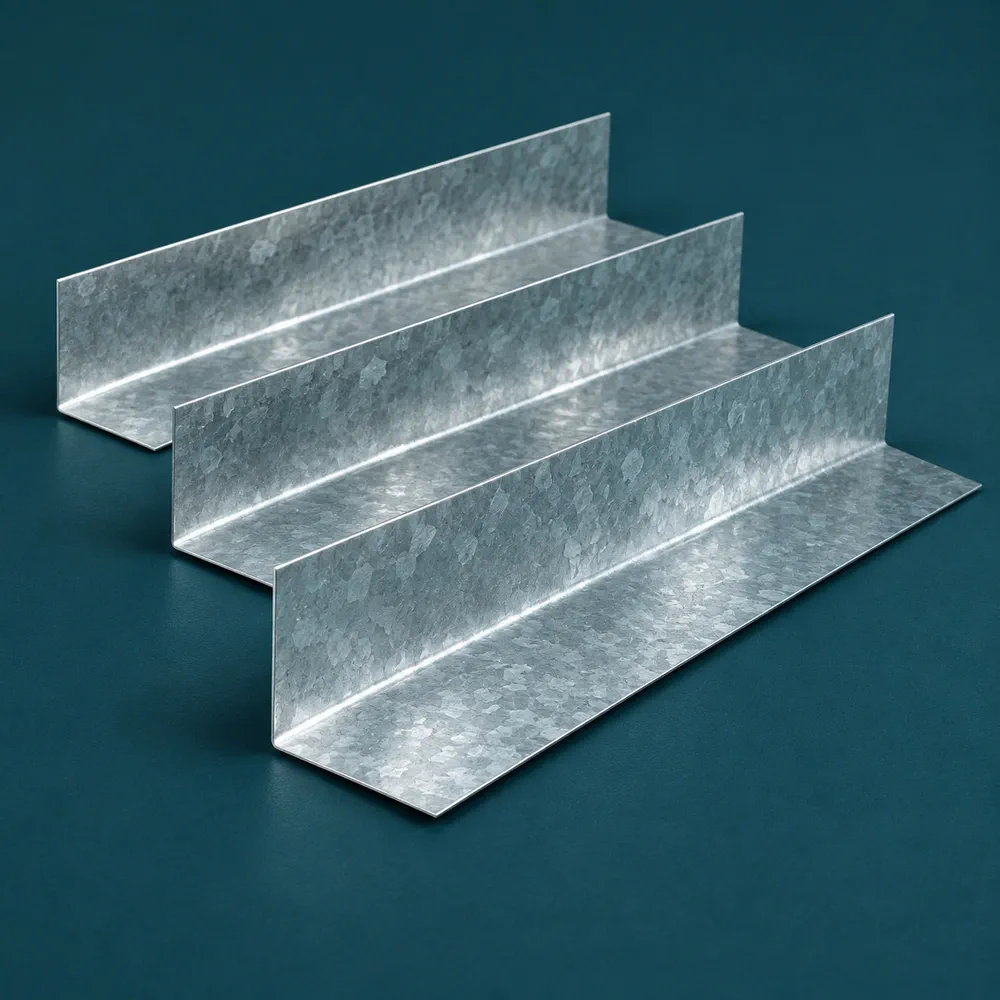
Metal step flashing is a series of individual pieces of bent sheet metal used where a sloped roof meets a vertical surface. Each piece typically has a roof leg and a wall leg. The roof leg integrates with the roof covering, while the wall leg rises along the adjoining surface. With a shingle roof, successive pieces are worked into successive courses as the roof progresses up the slope.
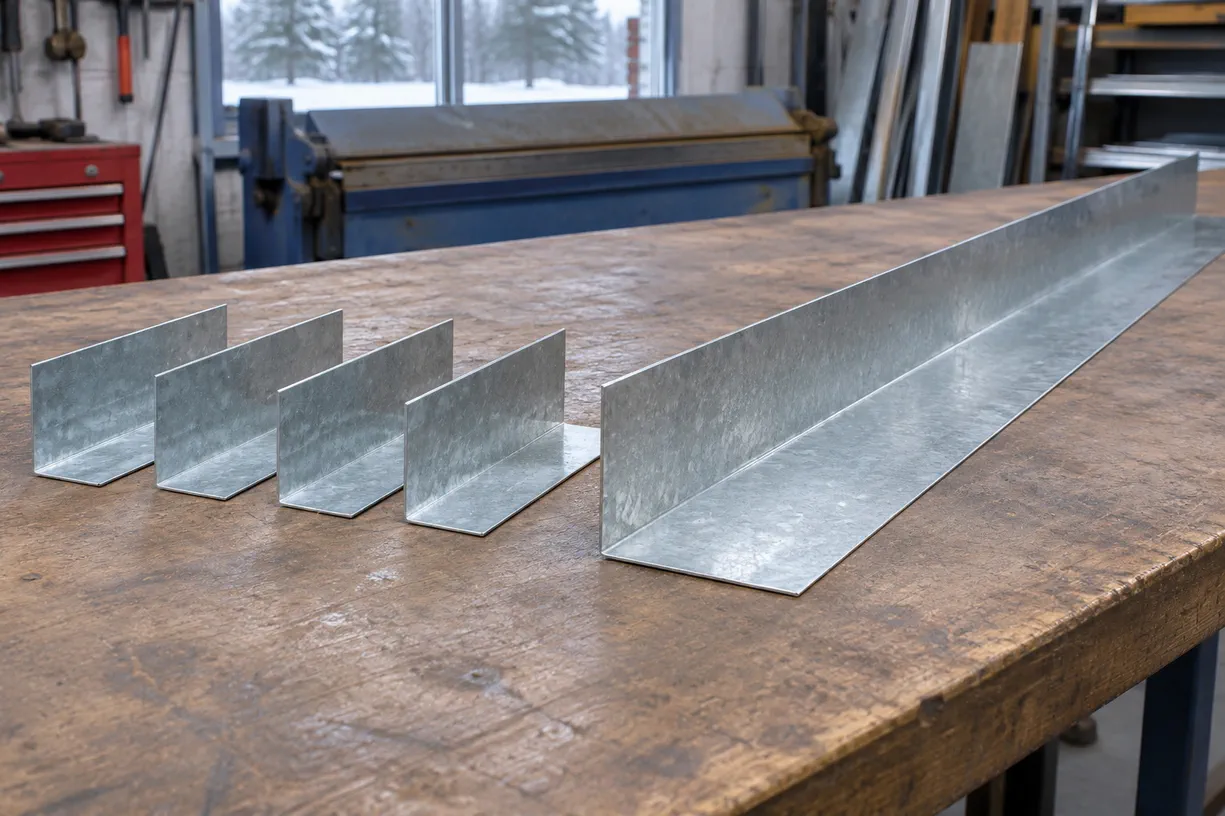
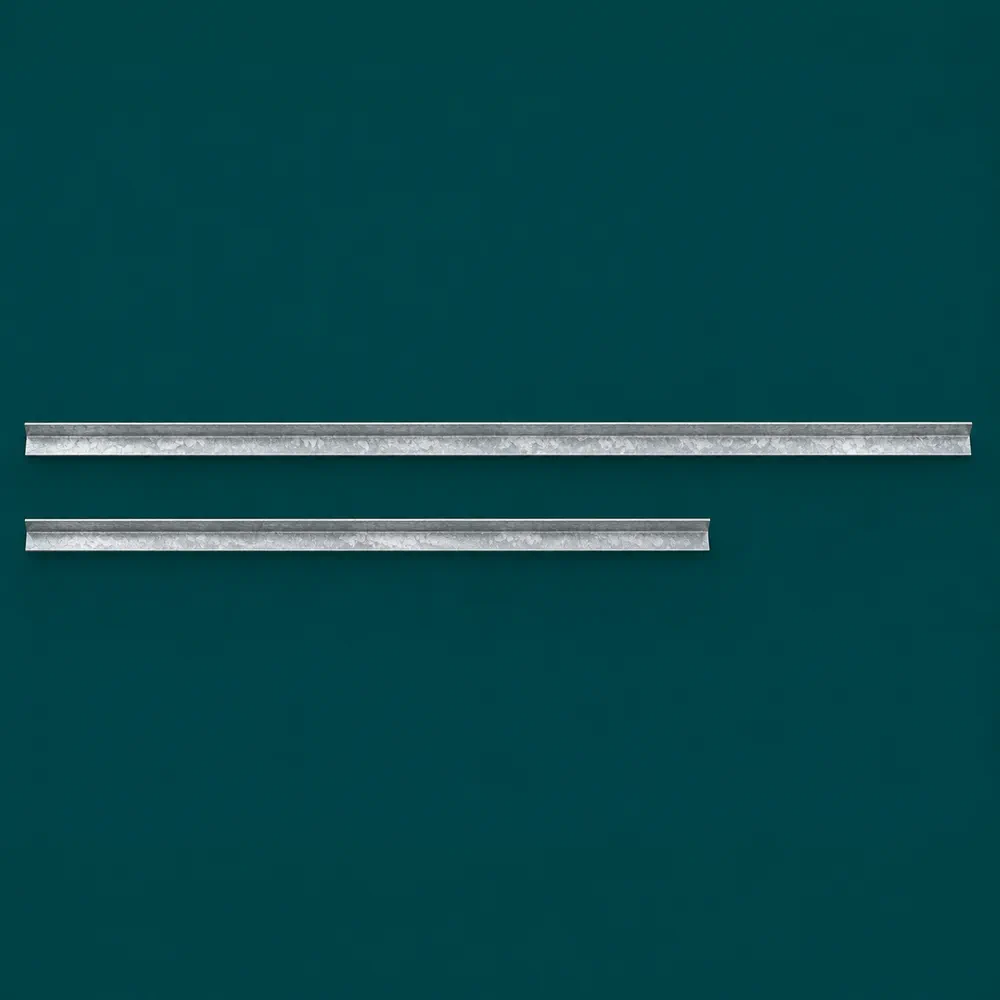
The word step describes that sequence. It also explains why a shop needs the length of each individual piece, even when the drawing already gives the total length of the roof-to-wall intersection. A contractor ordering flashing for a long sidewall usually needs a quantity of short pieces. A request giving only the total linear footage leaves an important fabrication decision unresolved.
At a sloped roof-to-wall junction, individual pieces of metal step flashing overlap with successive shingle courses to guide water down the roof. The Building America Solution Center illustrates this detail in its guide to roof-to-wall flashing.
For a Toronto or GTA project, send Hamoon Construction your roof leg width, wall leg height, piece length and quantity.
Metal Step Flashing or L-Shaped Metal Flashing: Which Should You Order?
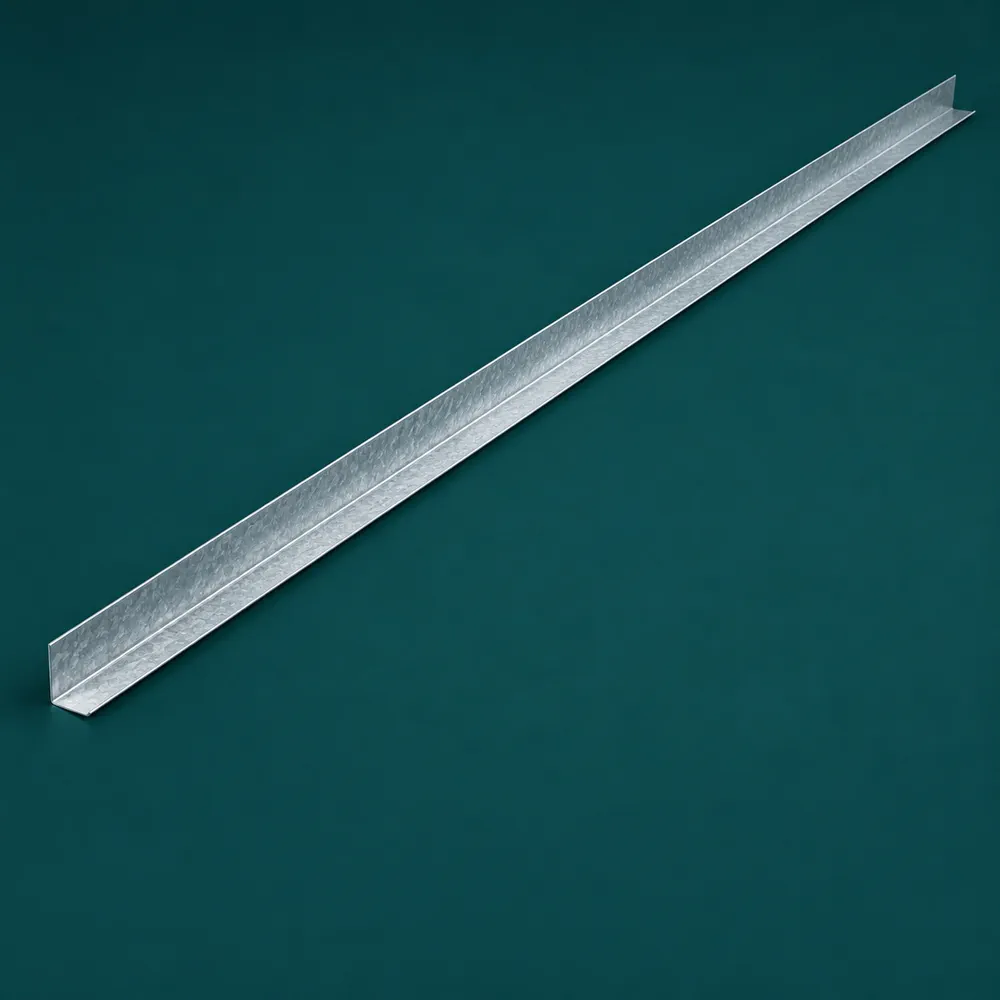
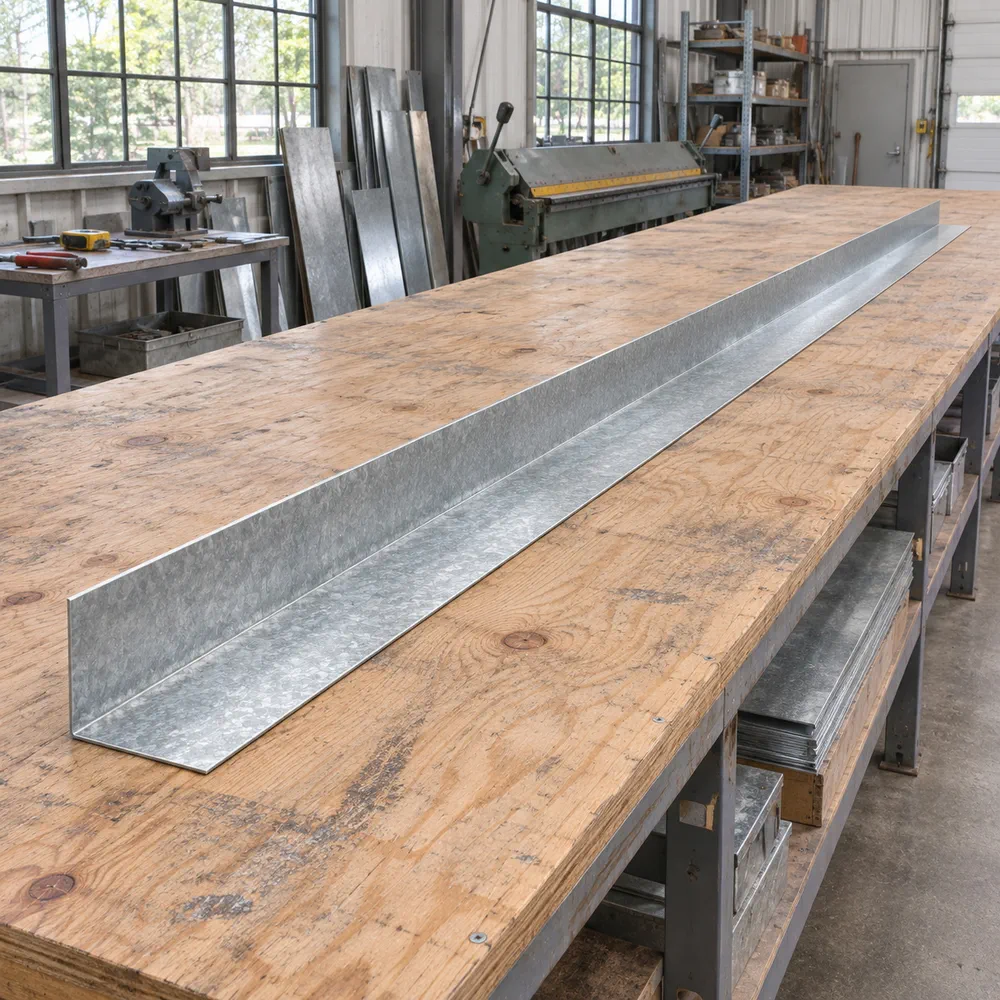
L-Shaped Metal Flashing describes the cross-section. Metal Step Flashing describes a particular use and piece arrangement. For a purchasing team, this distinction affects piece length, quantity, packaging and sometimes the way the exposed face must be finished.
| What the project needs | Product description to use | What to send the shop |
|---|---|---|
| Short individual pieces integrated with shingle courses along a sidewall | Metal Step Flashing | Roof leg, wall leg, piece length and piece count |
| A continuous L-profile along an interface or trim line | Continuous L-Shaped Metal Flashing | Cross-section, length of each run and finish orientation |
| Short roof-to-wall pieces with unequal legs or a special bend | Custom Step Flashing | Dimensioned section, bend angle and quantity |
| A formed end piece that directs water away at the bottom of a wall | Kick-out or diverter flashing | End-condition detail and left- or right-hand orientation |
| An angle intended to support weight or transfer a load | Structural angle or support bracket | The specified structural section and connection detail |
For example, “40 galvanized L bars” could describe several different products. “40 individual step flashing pieces, 3-inch roof leg × 4-inch wall leg × 8½ inches long” gives the shop a recognizable part. Add the approved material, thickness and bend angle, and the request becomes much easier to quote accurately.
Custom Step Flashing Made to Your Project Detail
Hamoon Construction can fabricate custom step flashing to the shape your project calls for. That can mean changing the width of one leg, forming a bend to a specified angle, matching an existing piece or producing several related profiles for different sections of the same building. A small change in the shop can make a considerable difference when that detail repeats across an entire elevation.
An example is a renovation where the new wall finish sits farther out than the original finish. Reordering the old profile because it looks familiar may leave the installer with a wall leg that does not suit the revised assembly. In that situation, send the original profile alongside the new wall section. Mark which dimension should match the sample and which should follow the revised drawing.
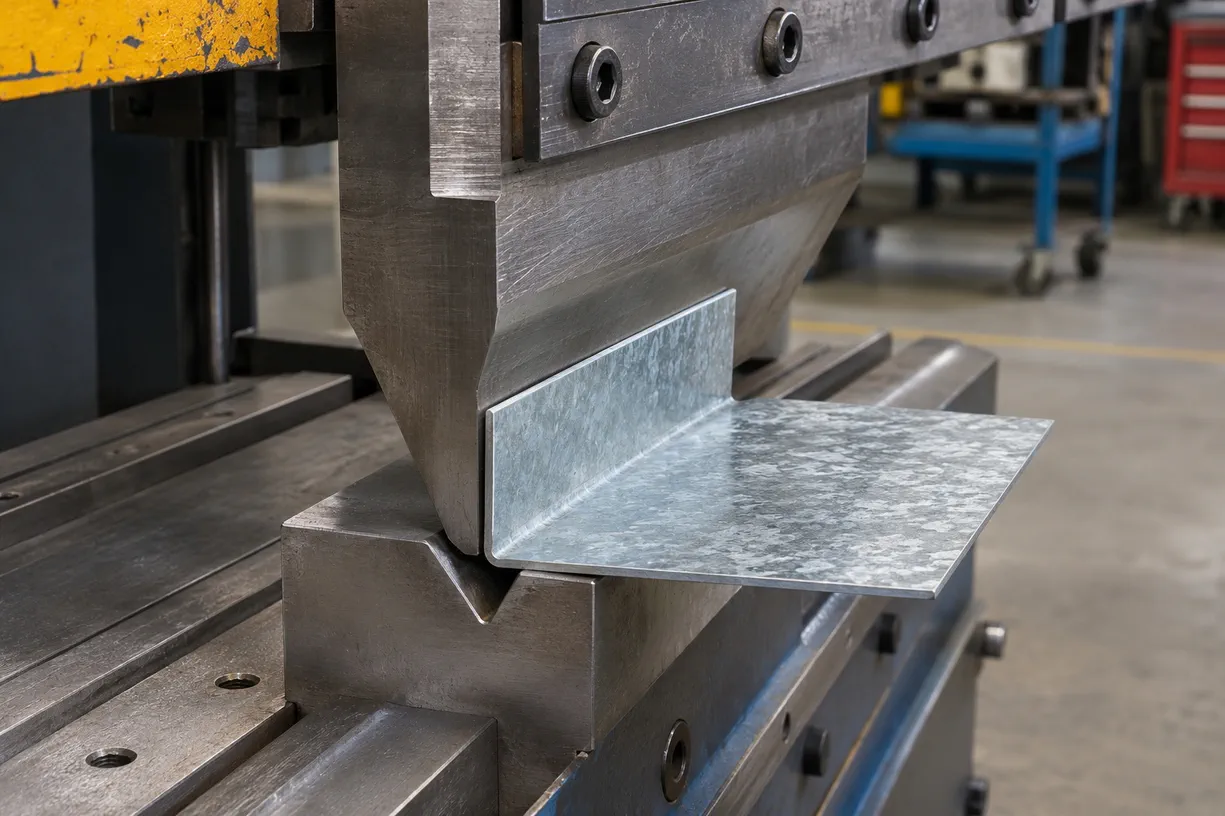
For more complicated shapes, we review the requested profile against the material thickness, bend radius and available space between bends. A sketch can be clear about the finished appearance while leaving the forming sequence uncertain. Reviewing those details before production helps establish whether the part can be formed as drawn or whether a revised detail needs your approval.
Where L-Shaped Roof Flashing Is Used
Roof-to-sidewall intersections
A sloping roof running alongside a taller wall is one of the clearest applications for L-shaped roof flashing. Water moving down the roof must pass the wall junction without entering the assembly. The individual pieces work with the roof covering and the wall’s water-management layers. When ordering, identify the roof covering and provide the wall detail so the shop understands which leg sits where.
Dormers and changes in roof level
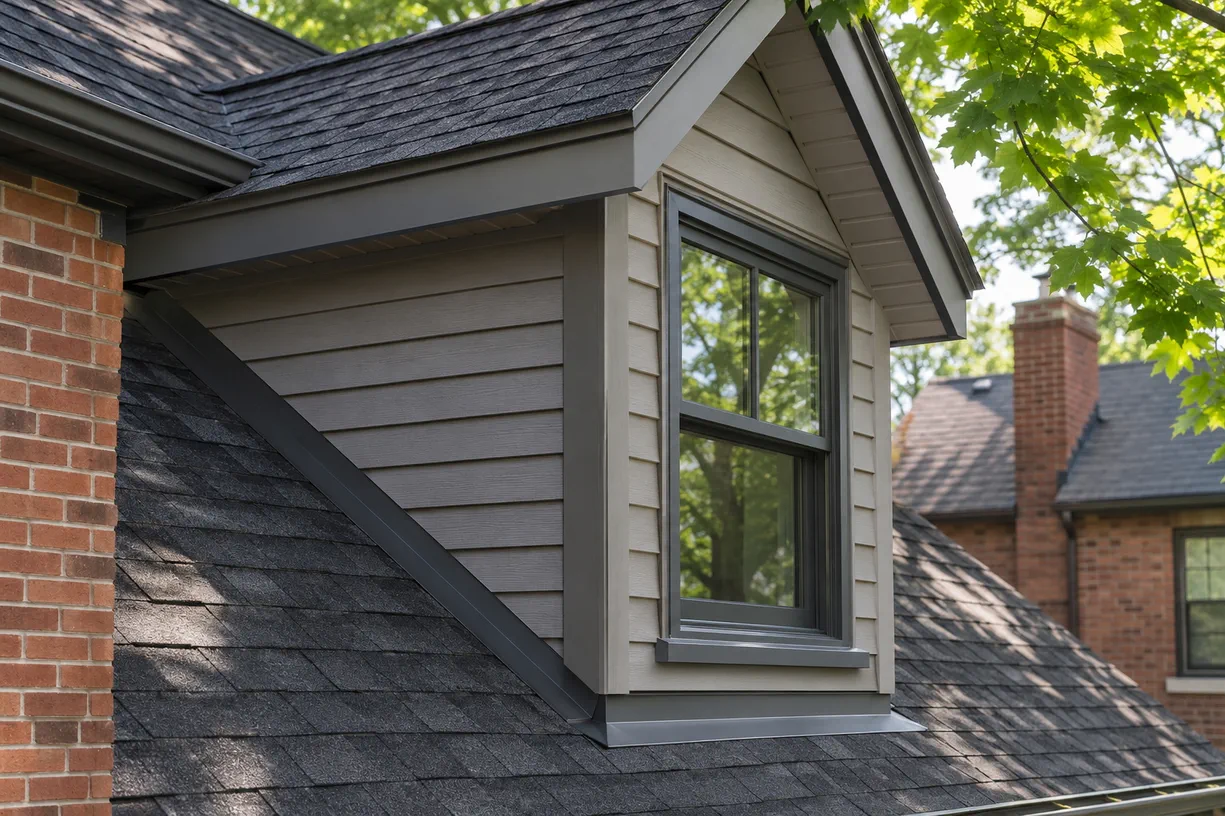
A dormer can bring several different flashing conditions into a small area. Its sloping sidewalls may call for metal step flashing, while the lower face and upper junction have different details. A photo from the ground can make all these pieces look like one continuous band of metal. Mark the exact side of the dormer on your drawing and give each distinct part its own reference.
Chimneys and skylights
The sides of a chimney or skylight are also common locations for step flashing. The head, sill and counterflashing may involve separate components. For a skylight, check the manufacturer’s flashing instructions before requesting a custom piece, particularly when the unit has a dedicated flashing kit. If a replacement part is required, include the unit identification and a photo showing the part in its original position.
Reroofing and cladding replacement
On an existing building, the roofing and siding crews may expose different portions of the same junction at different times. A profile ordered from an exterior photograph alone can miss a concealed return or give the wrong impression of the leg height. Once the junction is accessible, a measured section or an intact sample gives Hamoon a stronger basis for matching the intended detail.
How to Specify Metal Step Flashing for Fabrication
A useful order can fit on one drawing if it answers the following questions. For repeat pieces, label the profile once and connect it to the quantity required on each elevation.
| Specification | What to include |
|---|---|
| Roof leg | Finished width of the leg extending onto the roof |
| Wall leg | Finished height of the leg rising along the wall |
| Piece length | Length of one flashing piece measured parallel to the bend |
| Bend | Required angle and any specified inside bend radius |
| Dimension reference | Whether dimensions are measured inside, outside or to the bend line |
| Material | Metal type and specified gauge or thickness |
| Finish | Galvanized or specified prefinished surface, colour reference and visible face |
| Quantity | Piece count for each profile, separated by size and orientation |
Mark the finished face directly on the sketch. Imagine holding a piece of prefinished metal with the coloured side facing you. A bend toward you and a bend away from you produce different finished parts. Both can have the correct leg widths and still expose the wrong face on the building. A single arrow labelled “finished face” resolves that ambiguity.
Also distinguish finished leg dimensions from the width of the flat sheet before bending. An installer usually needs the legs to fit the completed assembly. The shop accounts for the bend when preparing the blank. If the drawing provides a flat pattern as well as finished dimensions, identify which dimensions control the finished part.
Choosing the Material, Thickness and Finish
Galvanized steel is a familiar option for metal step flashing. A project specification may identify a particular thickness, coating or prefinished colour. Include those details in the request, especially when new flashing must match an approved sample or sit beside existing metalwork. A colour name such as “dark brown” is less reliable than a manufacturer’s colour code or a physical sample.
Thickness also influences the appearance and shape of a bend. If your purpose is to match an existing flashing, tell us whether the priority is the finished outside dimension, the inside clearance or alignment with an adjacent trim. Two pieces can share the same nominal leg dimensions and fit differently when the metal thickness or bend radius changes.
Where the flashing meets another metal, treated material or a proprietary roof or wall system, identify those adjoining materials on the detail. The project team can then confirm compatibility and any required separation. Hamoon’s fabrication scope starts with the approved material and profile, which gives the installer a part that can be checked against the drawing on arrival.
Roof Pitch, Bend Angle and Other Details Worth Checking
A frequent source of confusion is the relationship between roof pitch and flashing angle. At a typical vertical sidewall running directly up the roof slope, the bend line follows that slope. The roof pitch by itself does not tell the shop to open or close the cross-sectional bend. A site note such as “6:12 roof” is useful context, but a dimensioned section through the actual junction is more useful for fabrication.
A second issue is handing. Ordinary rectangular pieces of equal finish may be interchangeable, while pieces with a notch, return, angled cut or diverter can have a definite left and right side. If your custom step flashing includes one of those features, draw the viewing direction. “Left, viewed from the eave looking uphill” gives the shop and field crew a common reference.
Finally, keep the lower end of the wall junction on the drawing. A run of repeated pieces does not describe how water leaves the assembly at the bottom. Where the project calls for a kick-out or another termination, list that component separately. This keeps a critical one-off piece from disappearing inside a larger order for identical flashing.
A Sample Metal Step Flashing Order for a Toronto Project
Suppose a contractor is preparing a quote for two dormers and has an approved sidewall detail. A clear purchasing description might read:
Profile SF-01 — Dormer sidewalls. Fabricate 48 individual galvanized steel step flashing pieces. Finished roof leg 3 inches, finished wall leg 4 inches, individual piece length 8½ inches, 90-degree bend. Use the material thickness specified on Detail A5.2. Package 24 pieces for Dormer A and 24 for Dormer B. End flashings are listed separately.
This is an example of order wording, not a universal size or quantity. Its value is that both the estimator and the installer can tell exactly what “48 pieces” means. The profile has an identifier, the two legs have names, the drawing controls the thickness, and the shop knows how the crew wants the parts divided.
For customers searching “step flashing Toronto” because a job is already underway, this level of detail is especially useful. If only one elevation is ready, identify that elevation and its confirmed quantity. If the remaining measurements are preliminary, mark them accordingly so a budget quantity does not accidentally become a fabrication instruction. You can read Sheet Metal Flashing Toronto.
Frequently Asked Questions About Metal Step Flashing
Can Hamoon make a profile that differs from a standard retail size?
Yes. Hamoon can review and fabricate a custom profile based on your drawing, dimensions or sample. Tell us the finished leg sizes, length, material, thickness and quantity. If the profile includes a tight return, special angle or unusually short leg, include a section so we can confirm the forming details before production.
Can I order using a photo of an existing L bar?
A photo is useful for identifying the general shape, particularly when it shows the part in place. For fabrication, add a dimensioned end view and the length of one piece. If the old flashing is bent or damaged, mark the dimensions you want reproduced and show the intended angle. A photo alone rarely establishes material thickness or the exact location of a bend.
Should I ask for individual pieces or a continuous length?
Follow the roof or wall detail. If it calls for individual pieces integrated with shingle courses, order metal step flashing by the piece. If it calls for continuous L-shaped metal flashing, give the required length of each section. When a project uses both, list them under separate profile numbers so the shop can price and package them correctly.
Can I combine different flashing profiles in one request?
Yes. Put each profile on its own line and give it a simple identifier such as SF-01, SF-02 or LF-01. Include the quantity beside each identifier and use the same labels on your drawing. This is particularly helpful when ordering short roof flashing pieces together with longer cladding trims, custom corners or matching end pieces.
Request Custom Metal Step Flashing in Toronto and the GTA
Whether you need a replacement piece for an existing roof, a production run of identical sections or several custom shapes for a cladding project, Hamoon Construction can fabricate your metal step flashing to the approved project dimensions. We can work from CAD drawings, PDFs, dimensioned sketches or a sample supported by measurements.
To request fabrication, select Flashing Fabrication on the Hamoon order form. Include the roof leg, wall leg, piece length, material, finish and quantity. For the clearest quote, attach one marked cross-section per profile and identify any dimensions that still require field confirmation. Submit a flashing fabrication request to Hamoon Construction Or Call +1 (647) 323-3795.
 Contact Details:
Phone: +1 (647) 837-3795
Email: info@hamoonconstruction.ca
Office Location: 45 Riviera Dr Unit 3, Markham, ON L3R 5J6, Canada


Reviews
There are no reviews yet.